The competent approach to IT security in terms of server authorization, both inside and outside the company premises, implies a number of important measures. They include providing a unique user name and meeting password complexity requirements, as well as conducting the planned password change and non-disclosure of credentials to third parties, etc. However, many users quickly forget about these policies. For easy reference, they hang a piece of paper with their username and password in a prominent place, such as their monitor. That can be quite convenient for an attacker wishing to gain access to their sensitive data.
Used products
As an example, let’s consider implementation of OTP password based on multiOTP project – open source PHP software, capable of working on standard algorithms which are well proven in the industry of multi-factor authentication (HOTP, TOTP, OCRA).
To provide additional input fields for OTP, we will be using the MultiOneTimePassword-CredentialProvider
The user will generate one-time passwords on their mobile device using Google Authenticator.
MultiOTP installation
Download the multiOTP product and place the contents of the Windows folder from the downloaded directory into the root of the system drive: C:\multiotp.
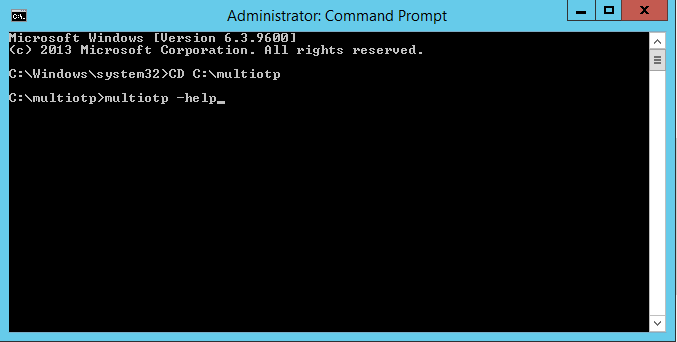
All configuration is done through the command line. Run CMD as an Administrator and go to our directory:
The following is a list of commands needed to configure and sync the multiOTP service with the Active Directory:
- C:\multiotp>multiotp -config default-request-prefix-pin=0
Enter the PIN code by default when you create new users (1 | 0)
- C:\multiotp>multiotp -config default-request-ldap-pwd=0
Use Active Directory password instead of the PIN code by default (1 | 0)
- C:\multiotp>multiotp -config ldap-server-type=1
Select the AD/LDAP server (1 = Active Directory | 2 = standard LDAP)
- C:\multiotp>multiotp -config ldap-cn-identifier=»sAMAccountName»
Set the CN user identifier (sAMAccountName, eventually userPrincipalName)
- C:\multiotp>multiotp -config ldap-group-cn-identifier=»sAMAccountName»
Set the group CN identifier (sAMAccountName for Active Directory)
- C:\multiotp>multiotp -config ldap-group-attribute=»memberOf»
Set the attribute that determines group membership
- C:\multiotp>multiotp -config ldap-ssl=0
Set an SSL connection to be used by default (0 | 1)
- C:\multiotp>multiotp -config ldap-port=389
Set the connection port (389 = standard | 636 = SSL connection)
- C:\multiotp>multiotp -config ldap-domain-controllers=servilon.com,ldaps://192.168.254.10:389
Set the Active Directory server(s)
- C:\multiotp>multiotp -config ldap-base-dn=»DC=SERVILON,DC=COM»
Specify the domain suffix
- C:\multiotp>multiotp -config ldap-bind-dn=»CN=Administrator,CN=Users,DC=servilon,DC=com»
Set the account used to connect to AD DS.
- C:\multiotp>multiotp -config ldap-server-password=»P@$$w0rd»
Set the password used to connect to AD DS
- C:\multiotp>multiotp -config ldap-in-group=»OTP»
Set group in which users must use the OTP to access the server
- C:\multiotp>multiotp -config ldap-network-timeout=10
Synchronization timeout — set in seconds
- C:\multiotp>multiotp -config ldap-time-limit=30
Set the timeout for the OTP password reset
- C:\multiotp>multiotp -config ldap-activated=1
Enable the AD/LDAP multiOTP server
- C:\multiotp>multiotp -debug -display-log -ldap-users-sync
Synchronization of users with AD/LDAP. This last command must be run each time you add a new user or configure a scheduled run of the script.
If all commands were entered correctly and the AD/LDAP server is available, running the last command should result in synchronization and creation of a new user for the multiOTP service:

Setting up Google Authenticator
Now you need to transfer the unique user key on the user’s device. The most convenient way to do so is to use a QR code. We need to establish a web server which will help us view and register users. Just go to the multiotp folder and run webservice_install.cmd. A browser with a multiOTP web administration console should appear. After entering it, we can create a new local user, or view a list of existing users, which is very useful:

But most importantly, the web console will help us register a user on a mobile device. Click «Print» in the chosen user line and you will we see a QR code generated for the user in a new tab:
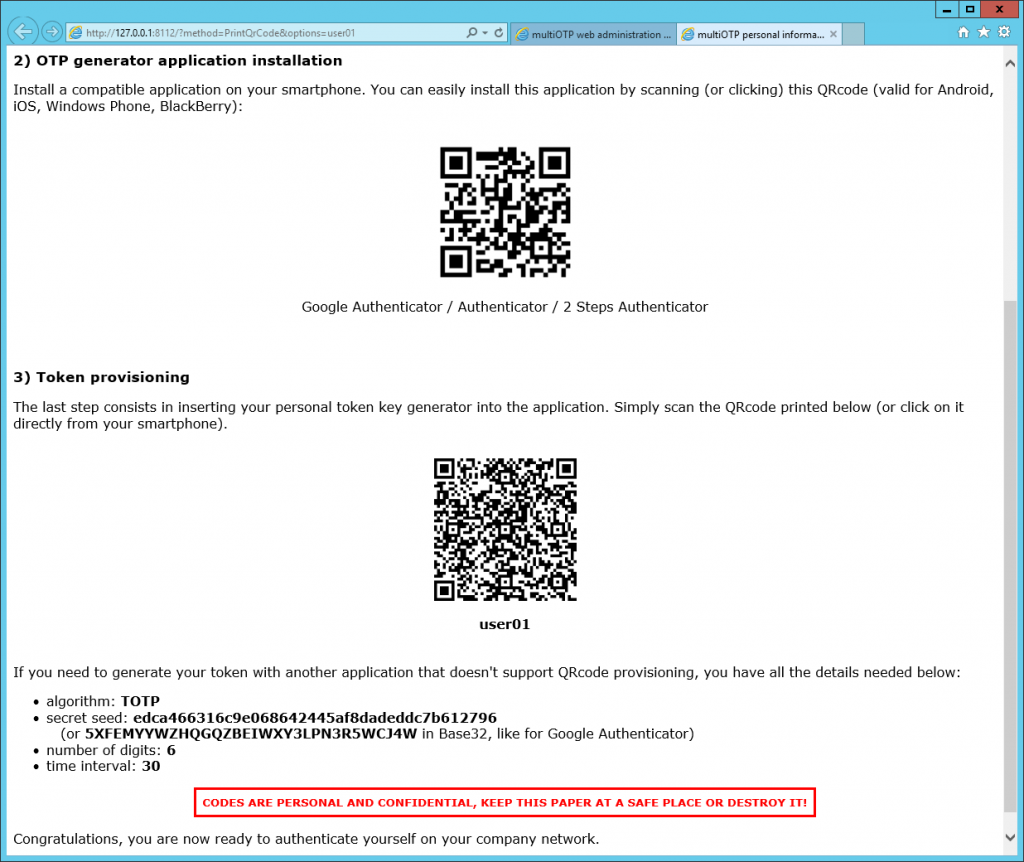
Scan the generated QR code with the help of Google Authenticator. The registration process is complete.
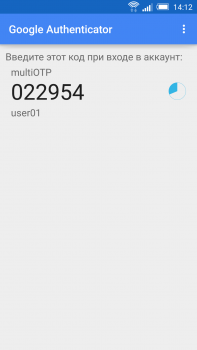
As you can see, everything is quite simple. It is also possible to send a QR code to the user by email and the user will do the registration himself. If all goes well, there will be an available OTP password updated on your mobile device every 30 seconds:
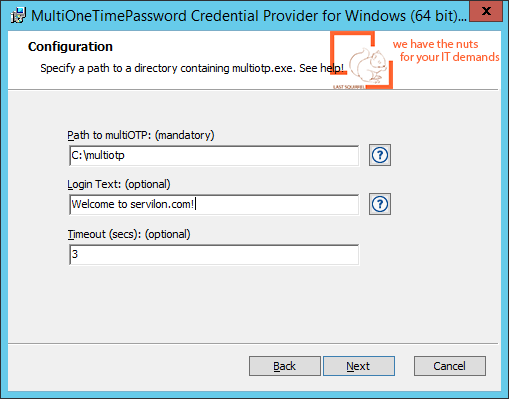
Installing MultiOneTime Password Credential Provider
Now we need to tell our Terminal server to use an additional OTP password upon user authentication. To do this, run the previously downloaded MultiOneTimePassword-CredentialProvider installer, where we only need to specify the Default Provider installation and the folder with multiotp service:
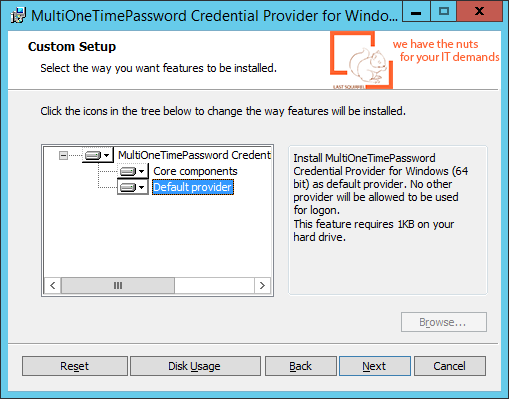
Important! After installing Credential Provider, users without OTP installed will not be able to access the server. Therefore, you must take care to set up OTP password on the Administrator’s account.
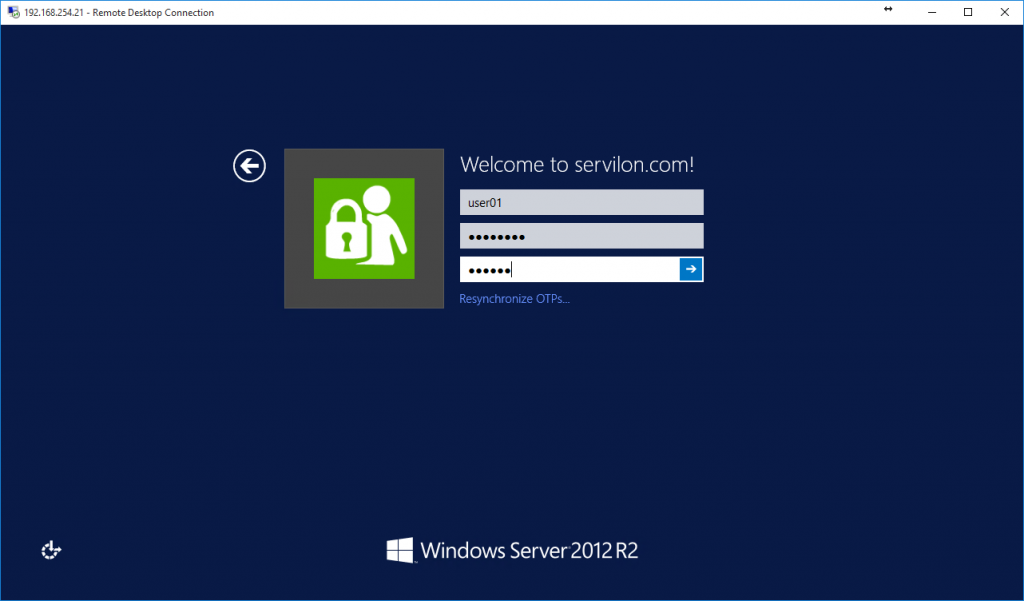
Results
Now our Terminal server has received an additional level of security in the form of an OTP password based on a free solution multiOTP-Credential Provider.
This solution can be deployed entirely on the user’s PC and build a barrier against an attacker trying to log on to the employee’s office PC.
We can configure two-factor authentication on your infrastructure. Send us your request, so we can contact you in shortly.